Did you know that today is National Card Making Day? To celebrate Joy Clare is hosting a blog hop that I am super excited to be in. Please hop along with us! The blog links are listed below. Please leave a comment along the way too. We sure to appreciate those :-)
I am sharing a Halloween card I created with The Web background stamp by Joy Clare and Tim Holtz paper and clip art.
I am a little embarrassed with how quickly this card came together. I think it took me 20 minutes.
I used white pigmented ink and clear embossing powder on the web to make it pop. I added pop dots to the owl and witch and finished the front off with some orange bling from my stash.
One of the best stamps sets I have ever purchased is the Crazy birds by Tim Holtz! It comes with a slew of accessory stamps to customize with any season or holiday. Naturally I had to create a Halloween card with it!
I used Distress Markers to color in the bird and pumpkin and I think it works great with the background paper. The card came together rather quickly, but it looks like it took a lot of time. I love the web paper as a backdrop to the focal point.
One of the very first Halloween stamp sets I ever purchased was from Stampin' Up over ten years ago. I remember debating with myself on if I really wanted it because at the time we really did not celebrate Halloween in a scary way. I am fairly certain that this stamp set purchase it what pushed me over to the dark side of Halloween. I created two cards with this stamp set for this year.
For this card, I used Tim Holtz Halloween paper pad I bought last year on clearance with his washi tape (also last year and on clearance). I stamped three images, fussy cut them out and pop dotted them on the card. I added three black gems to create balance.
This stamp is actually the reason I bought the set. I just love it and still do to this day!
I only added a pop of yellow to the "31" and covered it in clear glaze.
To finish off the card I added three gems to the bottom corner.
These cards were not only fun to make, but a great walk down memory lane! I think shopping in my stash has been more rewarding than shopping at the store.
My daughter turned 16 over the summer and I knew that not just any card would do. She has a fantastic sarcastic personality and not a fan of bright colors. I had a fun exploding Box Die Set from Pink and Main that I wanted to use. I made the first one in a traditional fashion:
It turned out great and I had a blast making it, but it ended up better suited for one of her best friends. So, I ordered Fired Up! stamp set because she likes dragons! I also picked up the Celebration Pack from Pink and Main and die cut out each piece twice.
I adhered the edges:
And added the panels:
Making sure I kept the back one up and not folded down.
I added the sentiment and a few gloss dots from Pink and Main to what would be the front of the box.
Next I lined up the inside pieces so they touched each other to create even spacing.
I got my poppers ready!
And adhered them to the inside of the box.
This was the final box!
But it was to young for her. It was cute, but not perfect for her. So I thought outside of the box and created this:
Here is a great video I did on the entire process:
Here is where you can find all the Tim Holtz products used in the video.
It looks like three is the lucky number! It took that many attemps to get the perfect Birthday Box for her.
Have you ever been looking through your stash and discovered an awesome set of stamps that you did not even know you had? That recently happened to me. I stumbled upon my Tim Holtz Hipster stamp set and I was inspired to make a set of sarcastic cards!
I colored the images in with Distress Markers and cut them out with my Scan N Cut. I set those aside and started on the base of my card. I used Distress Oxides to create the backdrop. For the banner, I used Distressed ink on Stamping Paper and Watercolor Paper. I randomly stamped the Birthday Stamp Set and created two banner pieces using the Thin Fish Tail Banner Die Set . I inked all the edges and assembled the cards making sure to set each Hipster on pop dots for some added dimension. I finished off the card with Tonic Nuvo Drops . Here is a close up of each card:
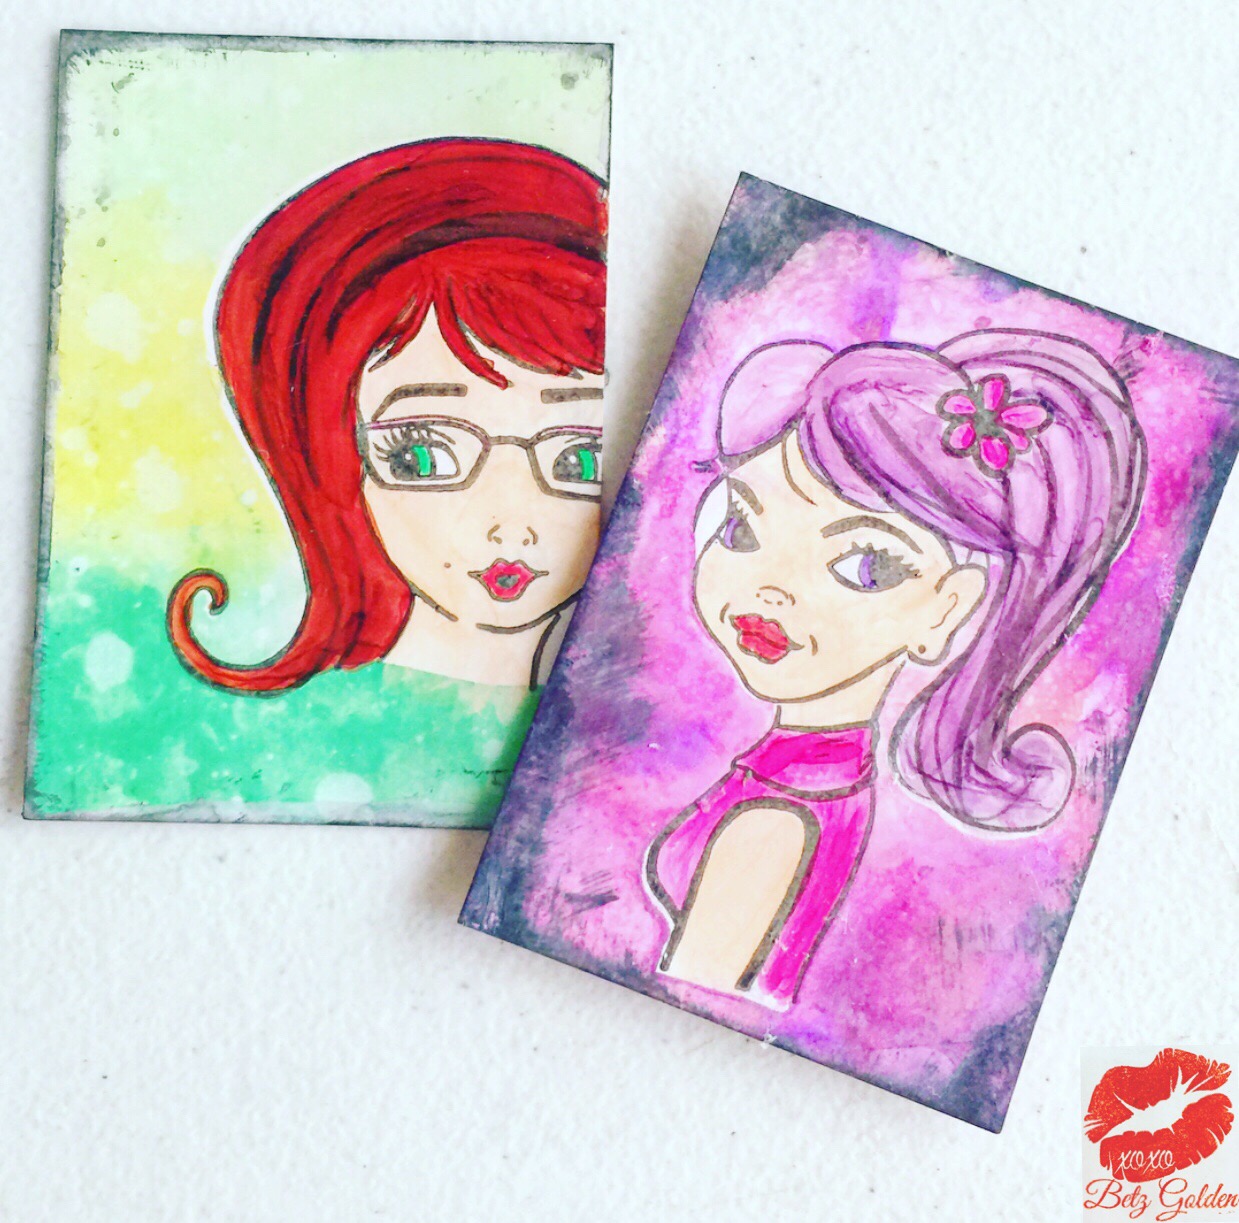
I know yesterday was the fantastic blog hop with Rita Barakat's new stamps! If you missed it, don't worry! Just go to my post yesterday and hop today. I am loving these new stamps she created with Technique Junkies and had to make a few sweet ATC with them. I used a hodge podge of supplies from my stash and I show you how here in this video:
Here are a few pictures of the ATC I created in the video:
I like these so much I don't think I am ready to trade them. I have added them to my ATC binder and can't wait to make some more!
I am starting a new series on my blog, "Technique Tuesday", in which I share a quick tip with you that is between 1.5 and 3 minutes long. This week I share how to stamp the perfect title. I use this layout as the example:
How many times have you wanted to stamp directly on something and been concerned it would go on crocked? This was a real struggle of mine for years until I learned this one simple trick and I am sharing it with you here:
I created two layouts in which I used Colorburst as the background! I may never buy pattern paper again! Here is the first one:
For this layout I used a red and yellow Colorburst. I drenched it in water because I really wanted it to run. I used a heat gun to push the color around and was quite pleased with how it turned out.
Am I the only one that finds teenage birthdays (or just birthdays in general) challenging? I love the little clay resin piece from Lisa Kettell Designs ! It is the perfect finishing touch to the layout.
I then created this layout using Tim Holtz Distress crayons in a red a blue color and layering Colorburst on top of it. I colored half the side where the picture is red and the other half blue. I rubbed it out a little with my damp finger. I added Colorburst over the color they matched and extended it out just a little with my sprinkling. I misted it heavier closest to the spot the picture was going to go and lighter farther away. I did not use a heat gun because I did not want to push the color around. I let it dry and added Nuvo drops from Tonic.
I die cut stars from Rinea Foiled Paper and added them to the bottom corner of the page.
Have you ever found something that you love, but want to use it differently than how it is intended to be used? That is what happened when I found this to make heart charms. I really wanted to make a mixed media canvas with the hearts as part of the body and a beautiful clay doll head from Lisa Kettell Designs to create this:
I also had some medal wings and crown by Tim Holtz as well as angel wings from 7Gypsies that were perfect for this piece. I used the new Prima rust paint system with some modeling clay to create the background and used Nuveo Dew Drops to outline the hearts in the body. I recorded the process as a segment in my "Behind the Art" showcasing how it came together. You can watch it here:
Here is a round up of cards that I made in November. Be prepared there is no rhyme or reason! It is a hodge podge of creative happiness!
I used Tim Holtz Distress Oxide to create the background for this sweet little guy :-) The penguin I ran across at the Mixed Media Convention in July of 2017 before he was released. I did not forget about him and ordered him the minute he became available. It is a layering stamp set and matching die.
I created this card with the new Water Lilly Background stamp from Brutus Monroe and the Spellbinder February 2016 card kit that I picked up at the Pinner's Conference in October of 2017. I think it will be beautiful for spring!
Here are five cards I created for We Craft that have been and will be featured on their website over the next few months:
The following is a technique I learned! I uploaded a tutorial here:
For this card I stamped the NEW background stamp -- Baroque on gold card stock with Raven Detail Ink. I was torn. I did not know if I was going to make it into a Halloween, Thanksgiving or Christmas card. It can work for all three! Since Halloween is this Tuesday I decided to go with that! The little cameo is a 3-D sticker from the Martha Stewart Halloween line (that is why it is hard to see!).It cam together relatively quick! Once I had the background stamped and trimmed down I ran three pieces of washi tape along the bottom and embellished it with gems and a sparkly spider.
I am over on the Brutus Monroe Blog today with this card. There are also seven new stamp sets in the shop (this being one of them), so make sure you check them out!
I paired the werewolf stamp, crow and embellishments with Tim Holtz Halloween line. I saw the cat with it's fangs and just knew it was a perfect match to off set my friendly werewolf. I like the mix of fun and freaky on this card. Sometimes going outside of the box really pays off!
I am sad to say that this box is sold out, however Brutus Monroe is now offering monthly subscription boxes so you never have to miss out again! Check them out at the Brutus Monroe Website