Showing posts with label Cards. Show all posts

Wednesday, September 19, 2018

Witch Please....

When I saw this stamp set last year I knew I had to have it! Witch Please.... is a Brutus Monroe Stamp Set that is probably one of the Halloween favorite with that company. It is perfect for those that have a sarcastic and/or sassy personality. 
 To create this card I took a piece of mixed media cardstock and covered it with Colorburst. As that dried I die cut two circles and stamped my image along with the sentiment on a piece of white cardstock.
 This card is going to go through the mail, so I made it flat. I added some little dew drops for a touch of dimension.
Sometimes you just have to get a little messy :-)

Until next time ~ Happy Crafting! 

Friday, June 22, 2018

How to Create 6 Cards from Compose Your Life Media Pack

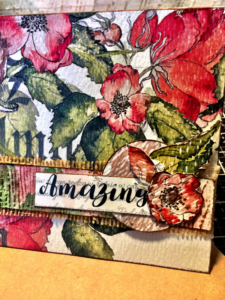
Sometimes I find it challenging to commit to a line of product. I want to play with it, but I do not want to invest in buying the entire thing. I adore the Media Packs from Canvas Corp Brands. Each pack comes with a variety of products without an overwhelming amount that drives the cost up. I always can get a lot of use from them. I was able to create six cards with leftovers in which I made Artistic Trading Cards.  The "Compose Your Life" line is a stunner! Not only are the images gorgeous, but they are printed on watercolor paper in which you can add your own touch. For this project I did pull in two additional sheets from the line, but not part of the pack to create the embellishments. I also used a few Tattered Angel Glimmer Mists from my stash on the textured wood paper as well as the tags.

Here are my cards and how I created them:
The additional two sheets of paper are Floral Spheres and Red Floral Pieces.
Using my Scan N Cut (You could fussy cut these too!) I trimmed out the flowers, leaves and circles.
I used the lovely paper in the pack to create my 5 by 5 inch card bases trimming each down to 5 by 10.
I used a score board to fold them in half.

The sentiments with this line are gorgeous.
I trimmed each out and inked the edges for the cards.
I misted the tags from the pack in coordinating Tattered Angel Sprays from my stash and set aside to dry.
I used Glam Glaze in the wood grain paper and inked it lightly to bring out the texture.
To assemble the cards I picked out bits and pieces for each card as I went.
I added pop dots to add a more interest and depth to the cards.
Here are the cards I created:


These would make a wonderful gift. I added the burlap from the pack and rose ribbon from my stash to bundle them together.
It is amazing how much use and fun you can have from the mixed media packs. Go to the shop and see if a line you have been curious about is available in a pack!

Until next time ~ Happy Crafting!

Friday, April 13, 2018

Remember When?

While attending Creativation this past January a few designers and I were talking about the old stuff in our stash. The stuff we could not live without a decade (or two in my case) ago and how we never use it anymore. We thought it would be fun to create a blog hop in which we used those old treasures. I have to tell you that I had a really good time with this and it rekindled my desire for things I have forgotten about. After you get done reading my blog please leave a comment to be entered for a change to win a really cute coffee stamp set by CTMH. Also, make sure you visit each blog listed below for a chance to win a goodie at each stop!

I decided to break out a Close To My Heart set I had put together over ten years ago:
 I stamped  a few images on a piece of white cardstock:
 I hate to admit this, but I have several Close to My Heart markers and have never used them. I thought for sure they would be completely dried up. To my surprise most were not! One of the colors was a bit on the dry side, however I loved what it looked like when I went over the image with a blender after. I also did not know that CTMH markers are alcohol markers. They probably were one of the first on the market (these are that old) and they are really GOOD! I might like them better than Copics. I might start selling again because I totally loved the markers and the ink pads! Yep, those old ink pads still worked.

I ended up cutting out the little pots and planters, placing them on pop dots and stamping the flowers. I used the watercolor pencils on the flowers and added a little pearl to the center. I assembled my cards from there.


Even though the products I used were over a decade old the results are current and pretty! Don't forget to hop on through and leave comments at all your stops!

Anita Scroggins - https://goo.gl/WRGz6V

Until next time ~ Happy Crafting!

Sunday, February 4, 2018

Colorburst Tips!

I get a lot of questions on how to use Colorburst without ending up with a puddle of muddy brown. I am going to share with you three principles that will help you achieve the beautiful colors you want on your projects. These tips do not only apply to Colorburst, but to any kind of water based paints and mists. 
1) Keep your blue tones together. Only use blue with greens and even yellows if you are going for green.
2) Keep your warm tones together. Only use red with pinks, oranges and yellow if you are going for orange.
3) Only use purple with blue OR red. Purple will turn everything brown. If you mix purple with blue and green you will get brown. If you mix it with red and orange you will get brown. So, either use it alone of with just blue or just red.

These cards along with the products I used are featured on the Brutus Monroe Blog .

Until next time ~ Happy Crafting!

Thursday, January 11, 2018

Floral Frenzy Cards

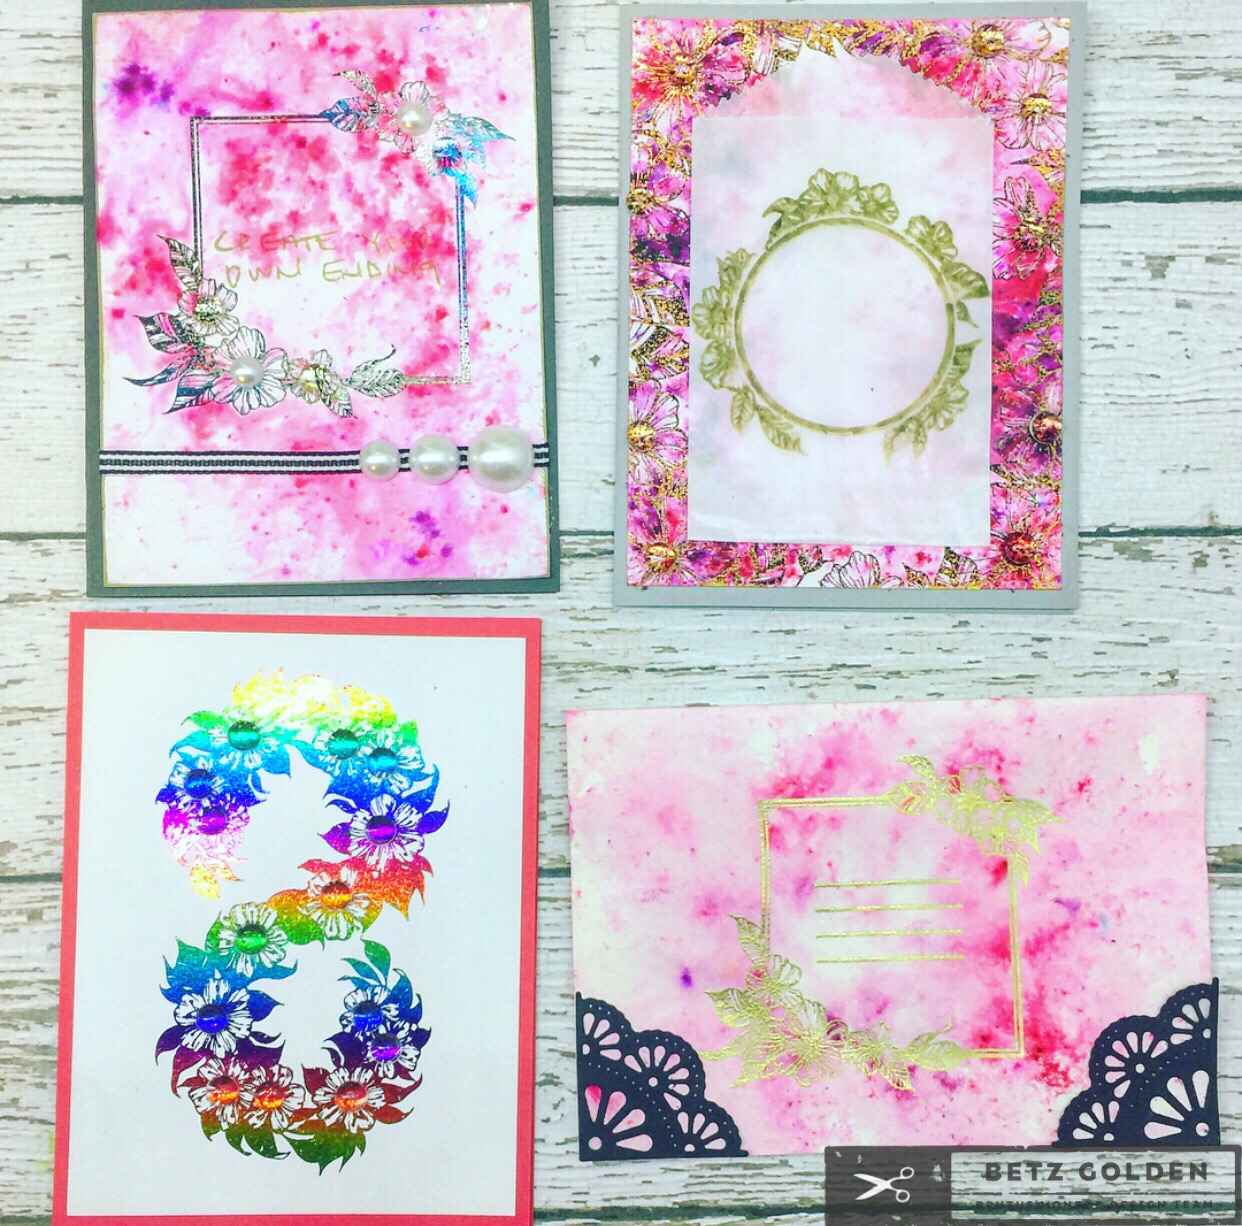
I whipped up a few cards with the January Inspirational Box from Brutus Monroe . I did not have much  time to craft and decided to foil them with Decofoil to make a stunning presentation. I used Colorburst on a few for even more character. The kit came with some sweet little bags that are perfect for holding gift cards. One of the stamps reminded me of hair and I decided to make a face out of it. For that card I used the black cardstock as the base, stamp the floral images and emboss them in gold making sure to do the edges.


Check out the video for the unboxing of the kit and a card and envelope demo:


If you have any questions please feel free to ask! If you are interested in the Brutus Monroe Inspirational Boxes, Decofoil and Craft Glue please click here .

Until next time ~ Happy Crafting! 

Wednesday, November 29, 2017

November 2017 Card Round Up

Here is a round up of cards that I made in November. Be prepared there is no rhyme or reason! It is a hodge podge of creative happiness!

I used Tim Holtz Distress Oxide to create the background for this sweet little guy :-) The penguin I ran across at the Mixed Media Convention in July of 2017 before he was released. I did not forget about him and ordered him the minute he became available. It is a layering stamp set and matching die.

I created this card with the new Water Lilly Background stamp from Brutus Monroe and the Spellbinder February 2016 card kit that I picked up at the Pinner's Conference in October of 2017. I think it will be beautiful for spring!  

Here are five cards  I created for We Craft that have been and will be featured on their website over the next few months: 


The following is a technique I learned! I uploaded a tutorial here:


Friday, November 10, 2017

Christmas Mug Cards

As I was helping at the Brutus Monroe booth at the Mixed Media Convention in Utah I met the sweetest lady who owns a great stamp company -- Pink and Main ! I fell in love with her stamps and beautiful pink dies. There was one set I just could not get over. I thought about it for months. I stalked her Instagram and website waiting for it to be released. Finally, in October, is was available! I bought the set, matching dies and the most adorable paper pack to match!

Christmas Mugs Stamps , the matching dies,  and Jolly Paper Pack is what I used to create these 8 cards. I also used Stylefile Markers and ink from Brutus Monroe to color the sweet little mugs in, a punch and glitter glue to make them shine!


I am still not over this stamp set. I need to create some more with it because it just is not leaving my system. Make sure you check out my layout round up at the end of the month to see the page I created with this set for the family album!

Until next time ~ Happy Crafting!


Thursday, November 9, 2017

Making Color Burst Cards

I had the privilege of meeting Ken Oliver at the Mixed Media Convention in July of 2017. I got a one on one demo and lesson on how to use Color Burst and have been addicted ever sense! I made these two cards using the new Color Burst for Brutus Monroe !

For this card I used a background stamp and applied the color burst on top of it after I embossed it.I stamped the bow pieces and sentiment. I adhered it all the a glitter card base and topped it off with a few bottle cap sequins.
 The next card I used a stencil to lay the Color Burst on making sure I stuck with colors that would not create a muddy look. I stamped the cute fist and used my Scan and Cut to cut them out. I stamped the sentiment on a circle I had die cut out. I adhered a few acrylic bubbles to finish it off.
This last background I created with this particular image in mind. I used a piece of watercolor paper to lay the Color Burst out on. I wanted the background to resemble a jungle so I used Cabbage and Zest. I sprinkled the color and misted it. At first it was to bright (yes, believe it or not it was brighter than this!), so I immediately dabbed it with a paper towel which picked up the excess color. I slowly sprayed droplets over it and was happy with it. 

Here is a video showcasing different techniques and basic color theory to keep in mind when using Color Burst: 
If you are interested in any of the products I used you can find them all here: Brutus Monroe Shop

Sunday, October 15, 2017

Scientist Masked Card

Hey hey hey! I am over on the Brutus Monroe Blog with this card! There are a few tips that I share on the blog, so make sure you check it out! Have I mentioned  that I love the Library Background stamp yet? I do! It is awesome! 

Until next time ~ Happy Crafting!