Showing posts with label stamps. Show all posts

Wednesday, May 16, 2018

How to Mask A Stamped Image

I know yesterday was the fantastic blog hop with Rita Barakat's new stamps! If you missed it, don't worry! Just go to my post yesterday and hop today. I am loving these new stamps she created with Technique Junkies and had to make a few sweet ATC with them. I used a hodge podge of supplies from my stash and I show you how here in this video:
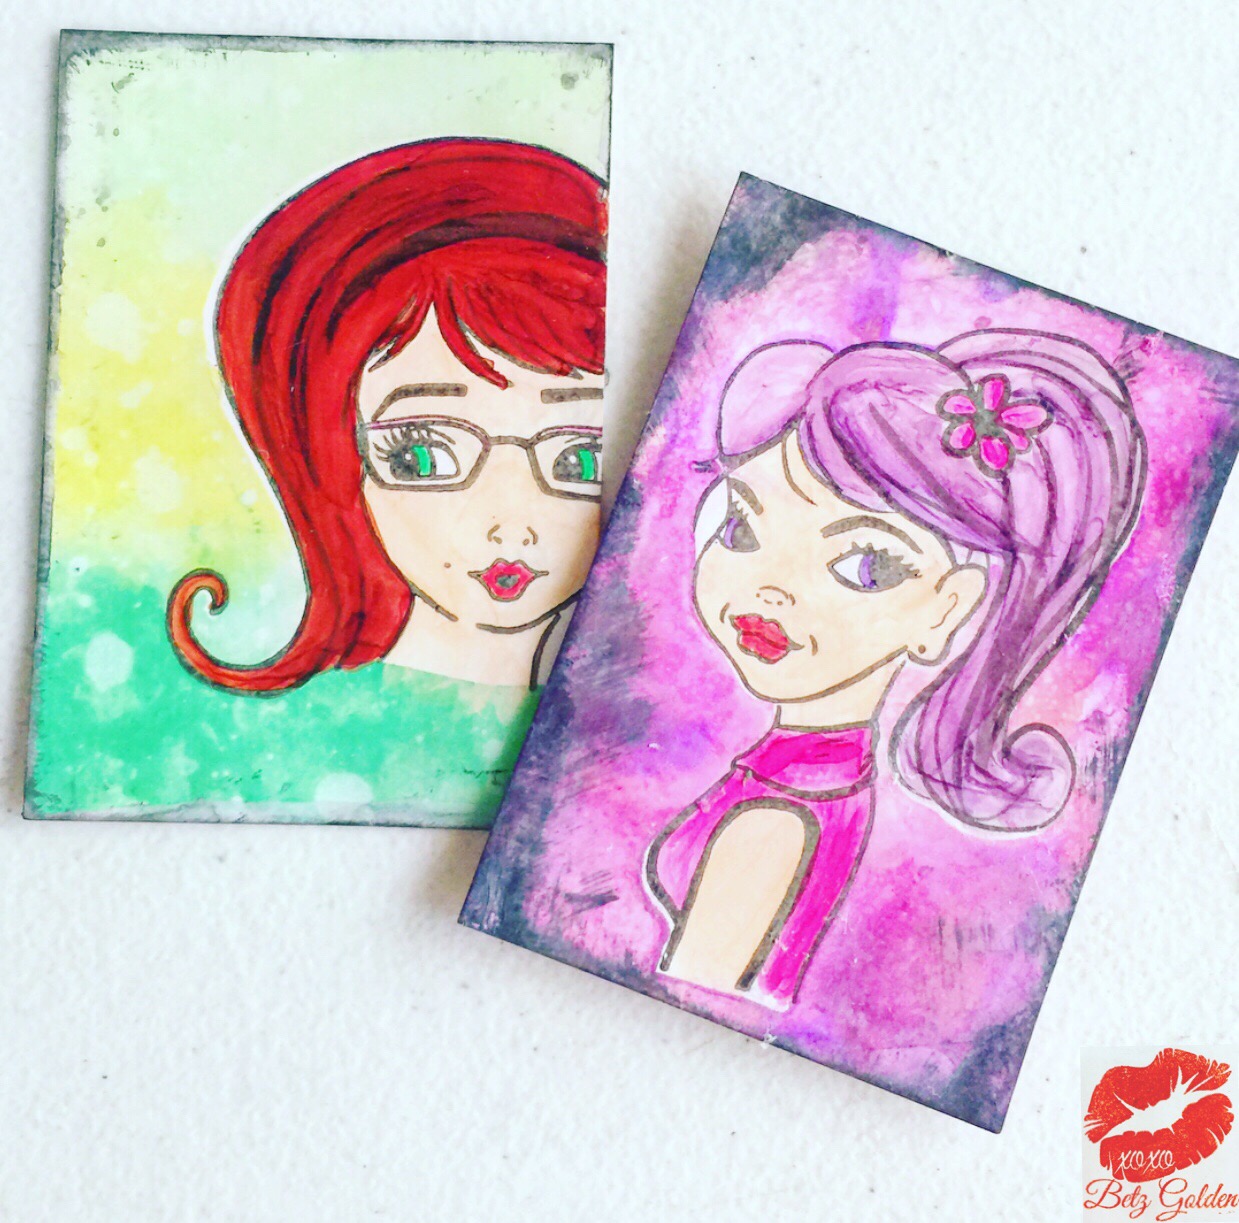
Here are a few pictures of the ATC I created in the video:


I like these so much I don't think I am ready to trade them. I have added them to my ATC binder and can't wait to make some more! 

Until next time ~ Happy Crafting!

Tuesday, May 15, 2018

BLOG HOP with Rita Barakat and Technique Junkies! NEW RELEASE!


 We are celebrating a new Illustrator at Technique Junkies Stamps.
We have 10 new stamps from Rita Bakarat in the Technique Junkies line! You can see all of the new stamps HERE.
If you’ve come from Geovana Smith's blog you are in the right place. If not head to the Technique Junkies Blog for the start of the hop.
Make sure you comment on all the stops along the hop. One lucky person who comments will receive a $25 Technique Junkies Gift Certificate! Comments will be open until Saturday May 19th and the winner will be announced May 20th on the Technique Junkies Blog.

I created these cards with the new Rita Barakat stamps through Technique Junkies:
Here is a video on how to use Copic Markers to shade in hair and skin:


And here are some close ups of the cards and tag!


Here are the links to the new stamps I used: Sweetie , Sassy Sue and Zoe AND a 10% off coupon for my readers!TJ10Betz 
I had so much fun creating these projects! My favorite style is bright and colorful. These stamps are perfect for adding a whimsical focal piece to any project. Please make sure you hop on through the blogs.

Now hop on over to Ceal Pritchett!

~~~~~~~~

Hop links (in order). Full list will be posted on the Technique Junkies blog

Rita Barakat http://RitaBarakat.com
Stephanie Eaton - http://inkedartist.com/


~~~~~~~~

Links to new stamps (links will be live before the hop time)


Until next time ~ Happy Crafting!


Sunday, January 28, 2018

When I Grow Up Cards

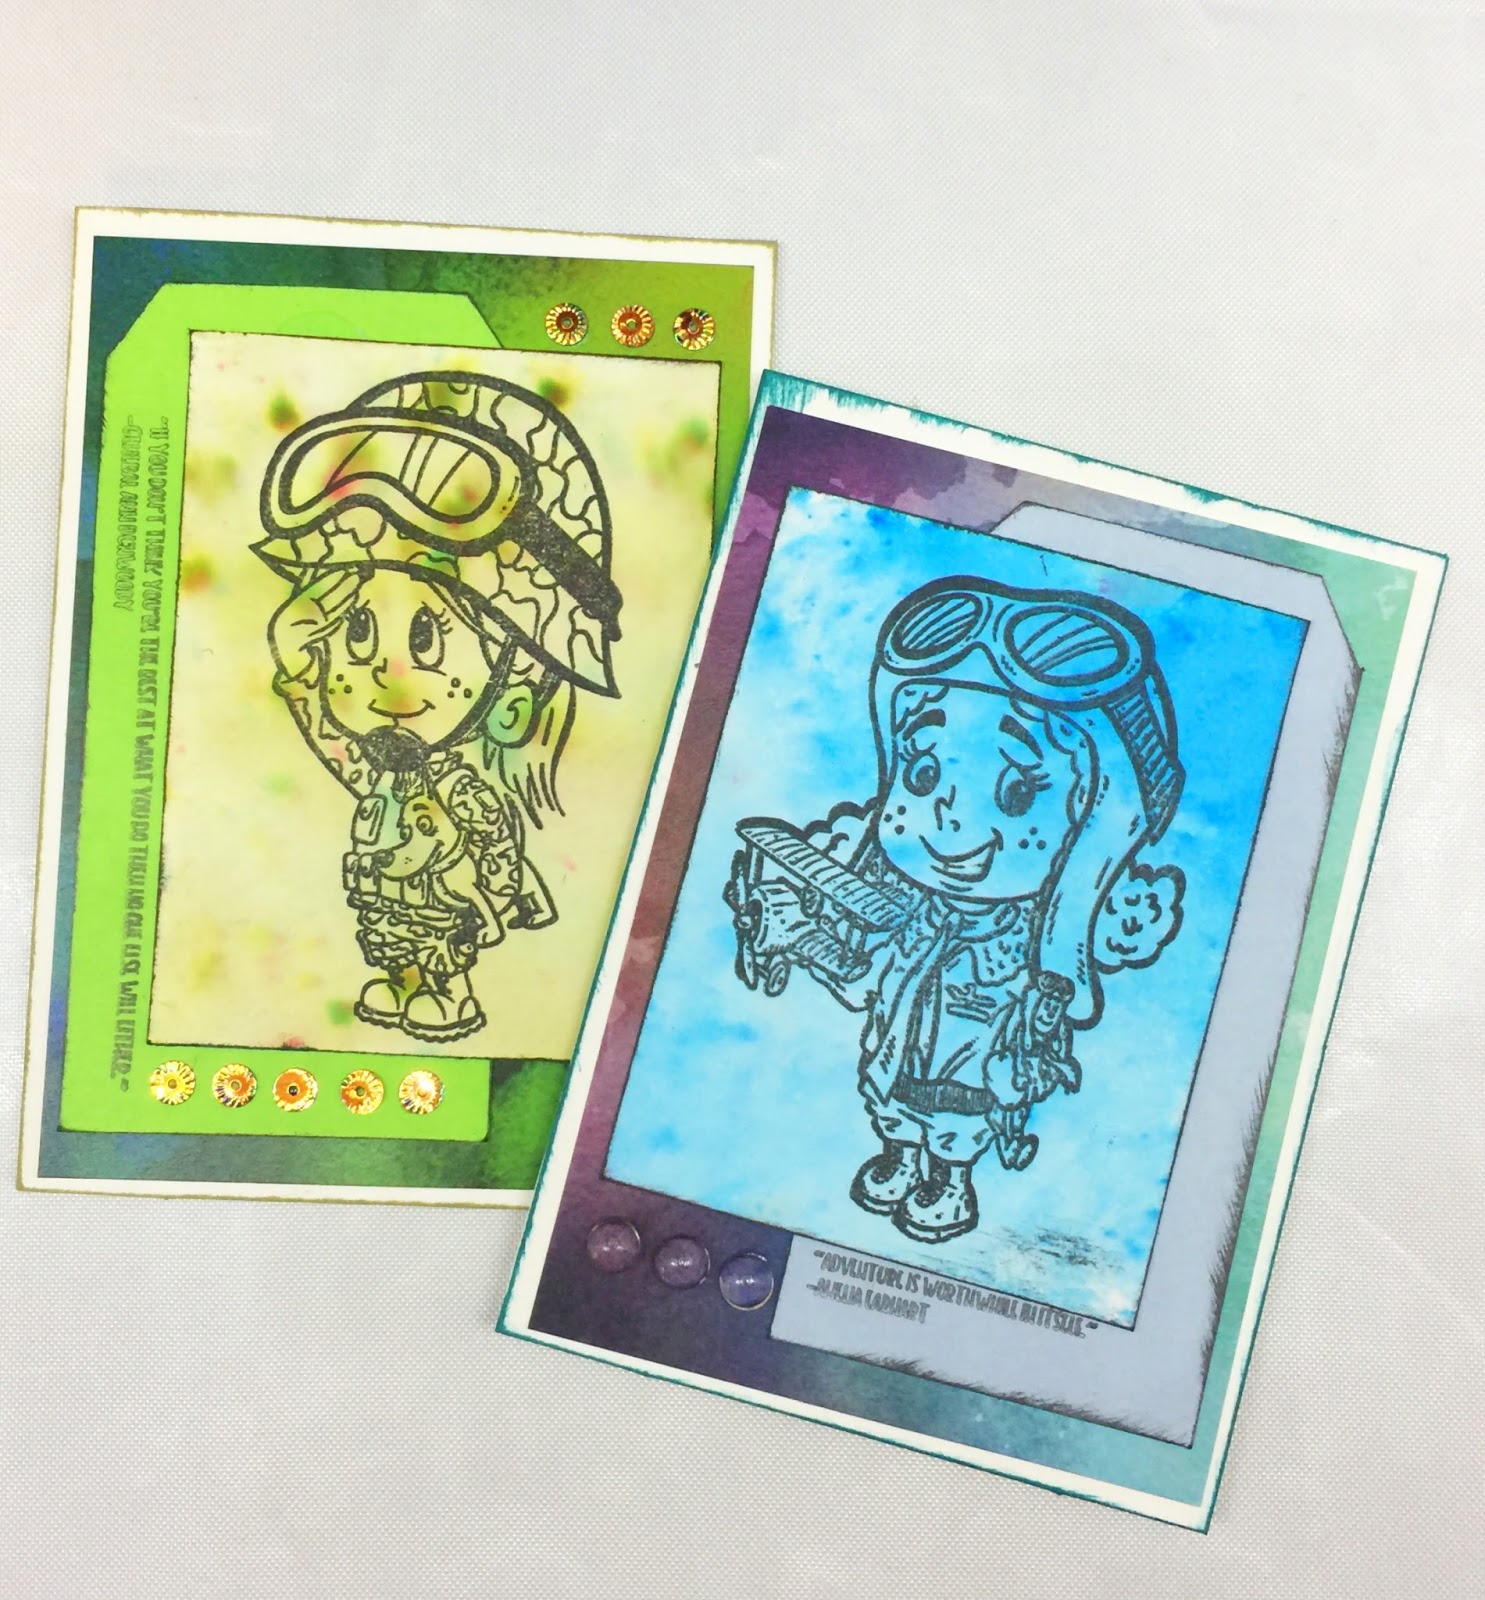
I am over at the Brutus Monroe Blog today with these two cards:
They came together quick! To see how I made them please stop by and check out the store! Lots of amazing stuff there! 

Until next time ~ Happy Crafting!

Wednesday, November 29, 2017

November 2017 Card Round Up

Here is a round up of cards that I made in November. Be prepared there is no rhyme or reason! It is a hodge podge of creative happiness!

I used Tim Holtz Distress Oxide to create the background for this sweet little guy :-) The penguin I ran across at the Mixed Media Convention in July of 2017 before he was released. I did not forget about him and ordered him the minute he became available. It is a layering stamp set and matching die.

I created this card with the new Water Lilly Background stamp from Brutus Monroe and the Spellbinder February 2016 card kit that I picked up at the Pinner's Conference in October of 2017. I think it will be beautiful for spring!  

Here are five cards  I created for We Craft that have been and will be featured on their website over the next few months: 


The following is a technique I learned! I uploaded a tutorial here:


Wednesday, November 8, 2017

Purple and Silver Christmas Cards and Purse

I ran across the beautiful Christmas line by Kaiser Craft in July at the Mixed Media Convention in Utah. They gave me a few pieces (stamps, dies, wood pieces and die cuts) to play with at the end of the show and once the paper became available in stores I had to have a few sheets. I created these five cards and purse (that will house a gift card perfectly!) with two sheets of the pattern paper. The Festive Deer Stamp and Sterling Embossing powder by Brutus Monroe had to take center stage!


I tend to get bored and uninspired when I made all the cards the same. I like to mix it up! I could easily give the cards as a set to a family member with a big silver bow or mail them out. This project took me about three hours and I love the elegant nontraditional vibe!

Until next time ~ Happy Crafting! 

Thursday, November 2, 2017

Back To School Layouts

I have kept a school album for each of my children from preschool through high school. Well, they still are in school, but it will go through high school. When they were little it was so much fun and easy to find cute back to school paper crafting goodies. As they have gotten older it has become challenging to find anything back to school that is mature like them, yet reflective of who they are and what they are becoming. So, I have ventured outside of the typical back to school supplies and used other things for the layouts.
Parker is going into the 6th grade. He needed something cool, but still kid friendly. I opted for stars in different textures in which I die cut out in various shapes and used as a border. I added a few bottle cap sequins from Brutus Monroe to finish it off. 

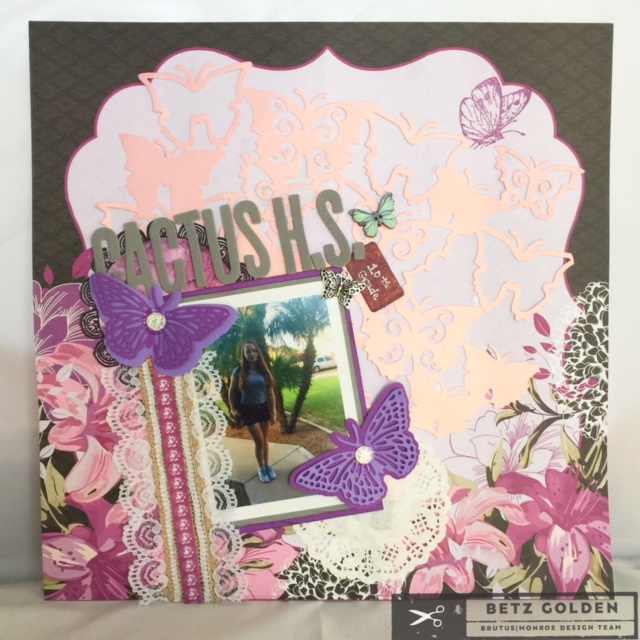
 Annie is entering 10th grade. I decided to use an inspirational kit from Brutus Monroe because she is changing from an impressionable child to a confidant young adult. It reminds me of a transformation that a butterfly undergoes. I love the layering butterfly die!
Logan is entering 11th grade! I decided to use a library back ground stamp and a traditional school style stamp set by Brutus Monroe to create his page. I added a small basketball because that is his life! 

This is the first year I did not use the same sketch and product line for each kiddo. They each turned out great and I hope the kids will cherish them when they receive their albums. 

Until next time ~ Happy Crafting!
Tuesday, October 31, 2017

We Craft New Monthly Stamps!

Have you heard of the new up and coming cyber crafting community -- We Craft? IT is a place where crafters can go for inspiration, education and to share ideas. It is a pretty exciting concept! A new artist created a set of stamps for each month of the year exclusively for We Craft. This is what I did with the October set:


Here is an introduction to all of the stamps as well as a quick tutorial on how to make an ATC:

Until next time ~ Happy Crafting!

Monday, October 30, 2017

Owl Always Love You

 I decided to do a fun twist on a card, but making it into a circle. This card looks like it was time consuming to make, but it really was not!

Check out all the tips and trick as well as how I made it here: 
You can find all the supplies at Brutus Monroe


Until next time ~ Happy Crafting!

Friday, October 20, 2017

Hocus Pocus!

Have you ever had something stuck in your head that you just can't get it out? That is what happened with this card! I saw this quote somewhere and thought it was hilarious. I just could not forget it, so I made a card.

I used a digital download from Calico Collage as the base. I then stamped out the sentiment with the handwritten click it alphabet by Brutus Monroe with the exception of the word coffee. I cut each word out individually. I stamped "coffee" with the Coffee Lover stamp set from Joy Clair and fussy cut it out. I layered the sentiment first and built the rest of the card around it. I stamped the witch on olive paper, cut her out and and put her on last. She can be found along with the "witch please" sentiment on the same stamp set at the Brutus Monroe Shop. I used the coffee cup from the "Coffee Lovers" on yellow card stock, cut it out and adhered it. I placed a pop dot in the witch and placed her on the card. I ended with embellishments I had found at Hobby Lobby.

Come back tomorrow for another fun card!

Until next time ~ Happy Crafting! 

Wednesday, September 20, 2017

Mixed Media Mini Canavas


Instead of giving a card, why not give a small canvas? I created two canvases using Dina Wakely paint, plastic mesh, and Brutus Monroe stamps.
For the Birthday Canvas I first painted the canvas with white gesso and topped it off with Dina Wakely paint and stencils. I added plastic mesh with Sparkle Mod Podge and heat set it so it melted right into the canvas. I layered three strips of washi tape on the bottom, punched four stars out of Rinea Foiled Paper and placed them in the corners. I stamped an image from the Birthday Badges stamp set on a scalloped circle and inked the edges. I placed that in the corner and topped it off with a fun clay candle by Lisa Kettell Design.

I had so much fun creating the Birthday canvas that I decided to create an "Owl Always Love You" with the Owl Love You stamp set and coordinating die.
You can find the stamps and coordinating dies at Brutus Monroe . 

Until next time ~ Happy Crafting!


Saturday, September 2, 2017

Emobssing Folder Technique 4!

Today I am sharing with you the fourth and final technique in this series -- Embossing on the embossed and misting. Well, in my case, color bursting it! The first thing I did was run a white piece of flat card stock through my machine with an embossing folder. I tool my embossing ink and lightly rubbed it over the raised image and embossed it with penny embossing powder. I sprinkled three Color Burst colors and misted. Lastly I used a baby wipe to pick up the color on the raised image. As that dried I die cut my tag and stamped the image. I used alcohol marker to color it in. I assembled the card on a brown glitter card base.  To see a demonstration of this technique please visit HERE . For supplies check out Brutus Monroe .

Until next time ~ Happy Crafting!


Thursday, August 31, 2017

Embossing Folder: Technique 2

Today I am sharing with you the second technique to our four part embossing series: distressing! This technique is one of my favorites. It works best with cardstock that has a different color core. Run your paper sandwiched between the embossing folder through your machine. Now, lightly sand it until the color in the core of the paper peaks through! To see the tutorial I created for you visit HERE . For the supplies, please find them Here . Come back tomorrow and see the third technique!

Until next time ~ Happy Crafting!


Wednesday, August 30, 2017

How to Use an Embossing Folder: Technique 1

Embossing Folders are so much fun and have lots of uses! They can really bring another layer of depth to a card or project. Over the next few days I am going to share with you four ways you can use an embossing folder. Today I am sharing with you the first and most used way: emboss. To do this technique you simply run a sheet of paper through your machine in the embossing folder. This on its own is a gorgeous use! I used a piece of white card stock to create the card above. I stamped a sentiment and used Silver Embossing Powder. I layered it on a silver glitter card base. The embossing folder I used can be found here Petal Lace.

I created an tutorial on all four of the techniques that you can view: Here .

Check back tomorrow to see the next technique!

Until next time ~ Happy Crafting!

Friday, August 25, 2017

Color Burst Card

I am obsessed lately with Color Burst! I created a couple of cards using an embossing technique. There are a few things to keep in mind when playing with any kind of paint or ink. The most important is to keep your color families together. Keep reds, oranges and yellows in one family and blues and greens in another family. There is one exception to this rule and that is PURPLE. Purple will turn everything brown except for blue and red, so mix it with only those colors. I also like to just use three colors at a time. If you keep those two things in mind sky's the limit and whatever your create surely will be a masterpiece!

Please check out the video to create these cards HERE
For supplies go HERE

Until Next Time ~ Happy Crafting!

Saturday, May 27, 2017

Brutus Monroe May New Releases!!!

I have some fun things to share with you! Brutus Monroe has new releases today! I was able to play with all the new stamps and dies! Yes! There are now coordinating dies with stamps! This release Brutus Monroe came out with a snow globe die. This is exciting because eventually there will be a snow globe for each state and some countries! The snow globe stamps are the same size, so the die will fit all of them. So far I have the San Francisco snow globe (where I grew up -- SF Bay Area) and the Las Vegas snow globe (new release). I love these because like the Starbucks destination mug, when you visit a city eventually you will be able to purchase the snow globe for it. You can make cards with them, or luggage tags!   You could even make ornaments out of them for Christmas. Make a tag out of them and put them on a gift. The possibilities are endless! The other new die is for the Owl set! I have created some fun samples using all of the new releases. Check them out and then go over to the Brutus Monroe site and poke around ;-)


  A few of these will be on The Brutus Monroe Blog in June! Make sure to check it every Sunday :-)

Until next time ~ Happy Crafting!

Betz