Working on more Christmas cards to get ready to go in the mail after Thanksgiving. I decided to go with something different....
I used the new Kiaser Craft and Brutus Monroe to create the card. I wanted something sophisticated, but different. Purple and gray was a nice alternative. Mixed in with the silver it turned out perfect.
I really wanted something off the wall and girly! For this card I stamped a background stamp on pink cardstock and mated it with blue. I used a mandala small die to back the sentiment. I added washi tape and sequins and called it good!
Check out Brutus Monroe for the stamps and supplies!
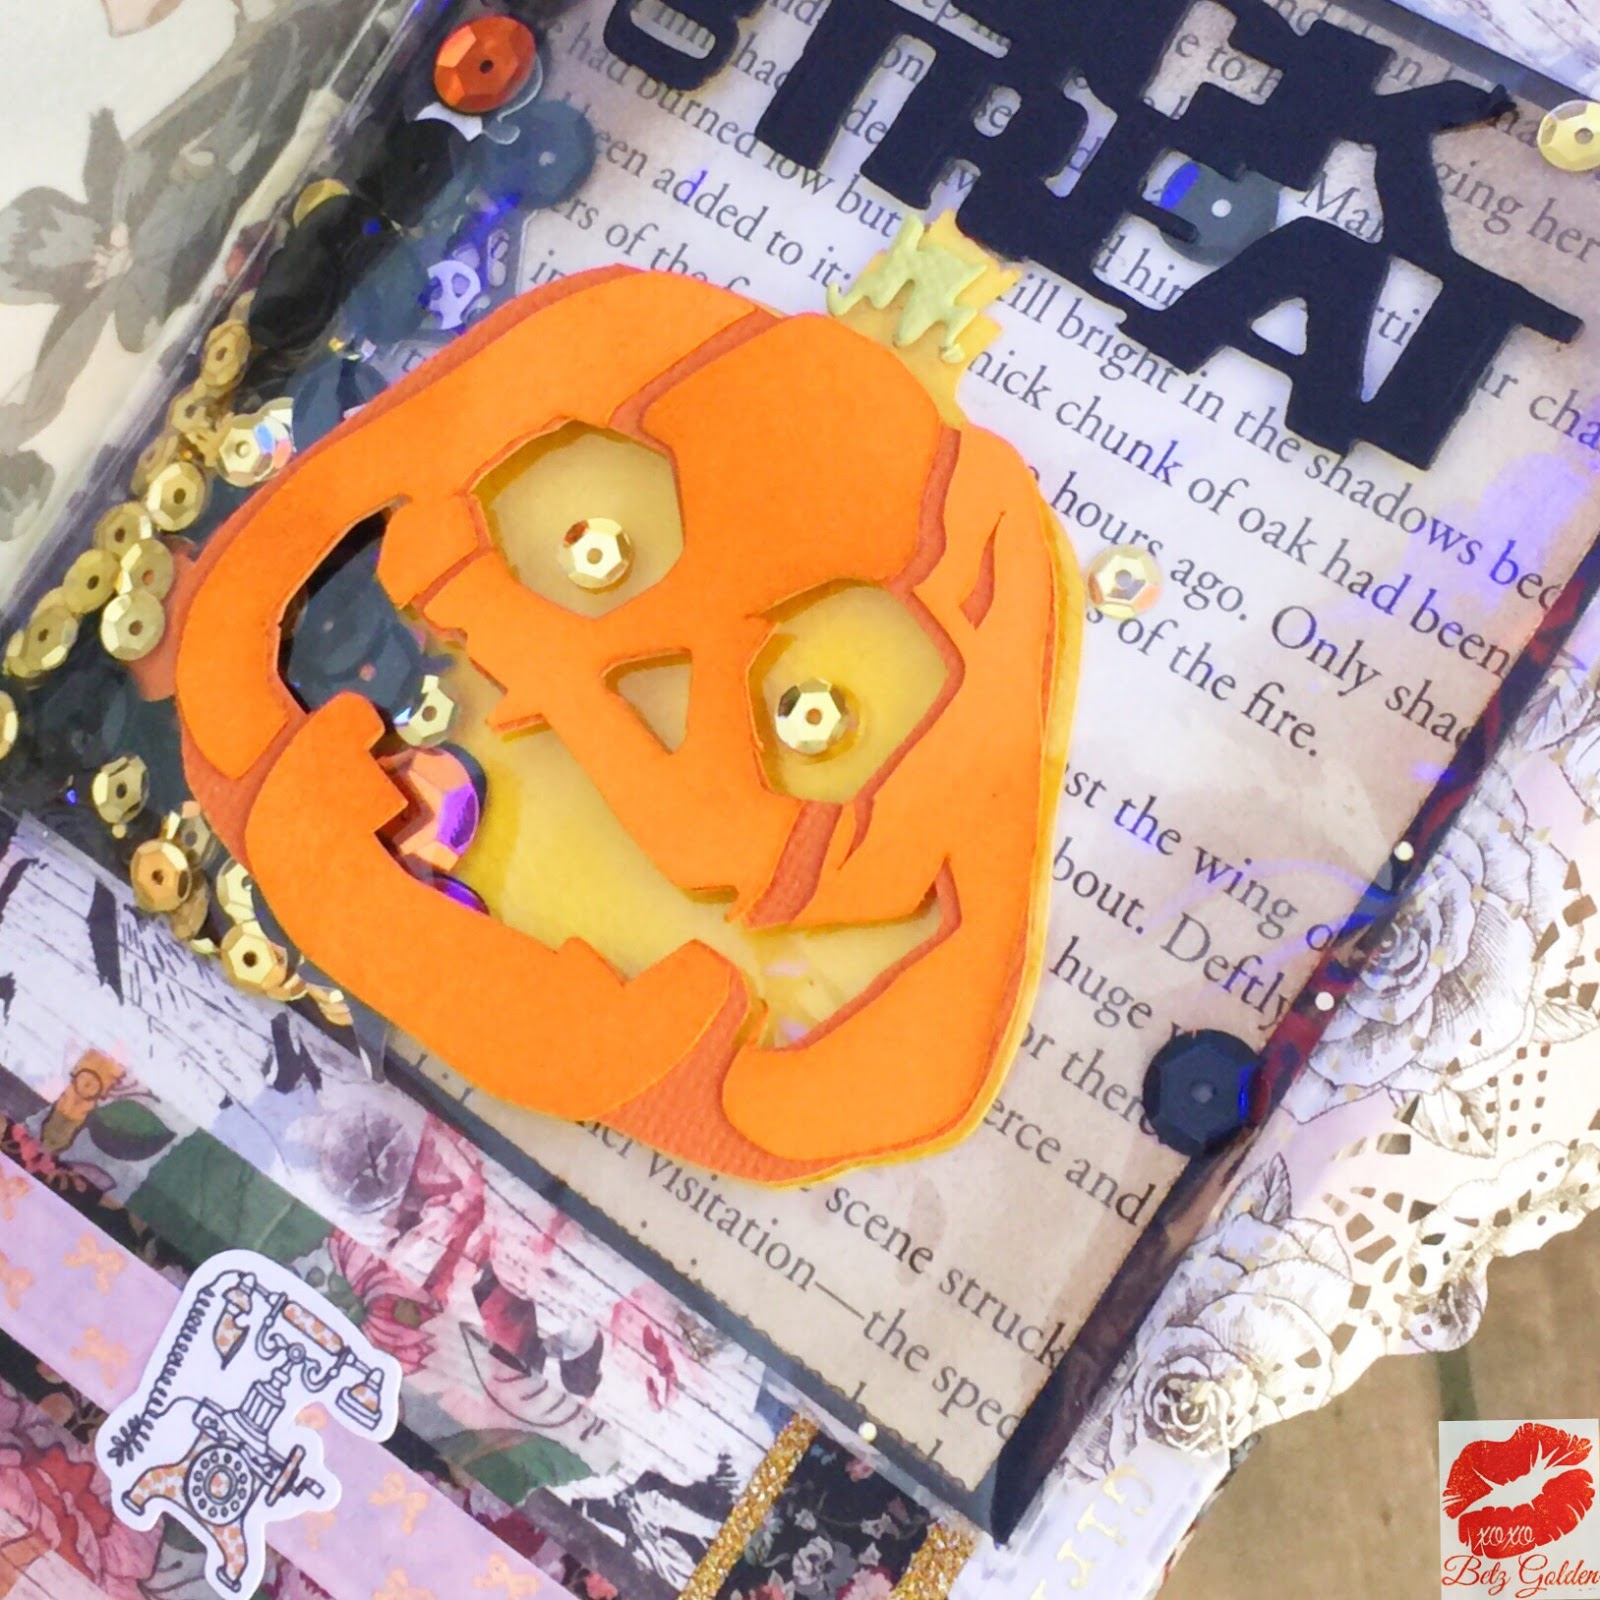
Can you believe it is almost October? I'm still trying to figure out what happened to September. I love The Planner Society monthly kits and could not wait to get the September kit set up for October. I was able to pull in some odds and ends from my stash too!
One thing I have been hoarding is a cute little shaker card I made at the Summer Creativation show in July using the new Tim Holtz die! I had the perfect spot in my planner for it. After all, October is Halloween! Super excited I get to enjoy this little shaker all month!
I really have to think about how I want to set my planner up every month because my needs change depending on the time of year. I actually struggled setting up this month. I don't know why. Once I got it done I was pretty pleased with it.
I uploaded the complete unboxing of the Planner Society Kit and a better walk thru of my planner here:
Brutus Monroe is releasing new stamps on Sept 30, 2017 that are perfect for back to school! The Chalkboard and books are from two of the sets. I really like them because my kids are not little anymore, so a lot of the back to school stamp sets are to adorable for them. They need to be cool! I am over on the Brutus Monroe Blog today sharing how I created this layout so please check it out!
I had a little fun in my craft room. Okay...I had a lot of fun in my craft room creating some Halloween cards!
For this one I used Distress Ink to create the background and splattered it with black ink. The witch is from Brutus Monroe as well as the circle die and markers I used to shade her face in. The sayings in this stamp set are to die for!
For this card I stamped the image and cut it out along with the sentiments. I added pop dots and adhered it to a sheet of waxed paper. I finished it off with some black sequin. Once again, you can find the stamp set and paper at Brutus Monroe
This card I really had fun with! I wanted it to resemble a bloody spooky night. I die cut the circles, stamped them and embossed not only the sentiments, but the edges as well. I used Dylusions ink spray in Cherry pie on the sentiment. I colored in the scarecrow and background with markers. Before I adhered it to the card base I splattered it with white ink. I added a few scarlet bottle-cap sequins to finish it off. Supplies can be found Here .
I am hosting a Halloween theme ATC swap. I found these beautiful images at Calico Collage and knew they would make the perfect base for my cards. I did not want to take away from the gorgeous images, so I used some coordinating embellishments from Lisa Kettell Designs Etsy store and some bling from my stash.
For this card I used a fun sugar skull and made a swirl of bling out of gems from my stash. I wanted to hide her bare chest as to not offend anyone in my group. If this was a piece of art that I could show first and then trade or for my own collection I would have left her bare.
For this card I used a few different ink spays on the resin face. It started of white and I wanted to grunge it up a bit. I adhered some gems across the top making sure not to take away from the image.
I sprayed the crescent moon a few different colors for this card. I them added a layer of swirling bling to it.
For this card I altered the sweet little baby face into a creepy one with ink sprays.
This card I used a laser cut wooden piece from a store on Etsy called Pork Chop. I laid her on two black swirly pieces.
This last one I added the crescent moon to and made sure to strategically place the bling as to hide her bare chest.
Here is a video of the process and more details. Enjoy!
Instead of giving a card, why not give a small canvas? I created two canvases using Dina Wakely paint, plastic mesh, and Brutus Monroe stamps.
For the Birthday Canvas I first painted the canvas with white gesso and topped it off with Dina Wakely paint and stencils. I added plastic mesh with Sparkle Mod Podge and heat set it so it melted right into the canvas. I layered three strips of washi tape on the bottom, punched four stars out of Rinea Foiled Paper and placed them in the corners. I stamped an image from the Birthday Badges stamp set on a scalloped circle and inked the edges. I placed that in the corner and topped it off with a fun clay candle by Lisa Kettell Design.
I had so much fun creating the Birthday canvas that I decided to create an "Owl Always Love You" with the Owl Love You stamp set and coordinating die.
You can find the stamps and coordinating dies at Brutus Monroe .
I had so much fun making a set of thank you cards that are perfect for the fall!
I used the magical Ghost ink to create this awesome background and a Coffee Lover stamp set. To see more please visit HERE because I am over on the blog today with this card!
I think this is my favorite new release stamp. I just love the "deer in the headlights" guy. I shaded him in with color pencils, cut him out and added some dimension by putting him on pop dots! This was so much fun to make!
I know, I know....it is only September. Why am I posting about Christmas? Well, it takes me several months to actually make my cards. I like to have them out right after Thanksgiving. Otherwise I forget, so I start early. I received some really great Christmas themed products from Brutus Monroe . When I saw the stencil I new I wanted to make a card out of it. It is important that my cards are flat so they can go through the mail with one stamp. This is what I created:
One of my current obsessions is embossing the edges. It gives a beautiful frame to the card without creating a ton of bulk. Here is a video I made as I created this card. I hope you enjoy!
The family and I took one last vacation of the summer to Santa Monica California over the Labor Day weekend. One of the things we enjoyed doing the most was collecting sea shells. My very favorite were the little ones that reminded me of butterflies. I knew I wanted to create something with them when I got home so I came up with this:
I have been wanting to create a mermaid canvas for several months and have been collecting my supplies to do so. The Mermaid I found at Calico Collage . It actually is a digital download of paper mermaid dolls! The next thing I found were the pretty little wood laser cut mermaids. Finally, I was browsing Lisa Kettell Designs and found mermaid clay tails that I could paint.
I used several different metallic paints on the tails as well as a little glitter glue on the tails. The last thing I had left to find were the shells and I found those on the beaches of Santa Monica.
Do you have a collection of bits of paper -- scraps? Often times I will go through my scraps and will be amazed at how pretty the paper is and wonder why I did not use it up. Then, I wonder how I could use it. Often times we get stuck in a rut with our scraps. They are not big enough to be a base and to small to mat a photo. I discovered a great way to get the most millage out of my scraps by punching them! I like to create seasonal or themed "kits" to work out of. This allows me to utilize my supplies so I don't turn into a hoarder. I also come up with the most creative projects when I have a few things set up and ready to go in a kit. I rummage through my stash of scrap paper and pull out all the scraps that would go with my theme. Next, I look through my stash for half used packages of things that would match. I punch out shapes and put them together to create unique embellishments for projects. When I have thoroughly enjoyed a kit and need to move on I either pass on my leftovers to my scrappy friends or toss them -- and I don't feel guilty about it. I really do get the most I can out of my supplies when I do it like this.
After I got done setting up this kit I noticed that some punches worked better than others and some downright hurt my hand! I wanted to share with you this information. That way if you are looking to purchase punches you will have a better idea of comfort and quality.
Fiskar: The Fiskar Hexagon punch is by far the most comfortable easy punch I have ever used. It fits nicely in my hand and is smooth. It does not require a lot of pressure or squeezing on my part to punch the shape. I used it on card stock and cork. It cut like butter! However, the other Fiskar punches I have (most of which I have not used before this project and are new) did not punch through anything thicker than a flat piece of paper easily and hurt my hand. I will buy the Fiskar brand with the handle like that on my Hexagon punch, but I will never purchase any of the other kinds again.
Close To My Heart: These punches are about average. They cut pretty smooth, but after time they do become dull in places. When they get dull I punch them on foil a few times and that helps. I bought these because I used to sell the product, otherwise they would not be in my stash. They do not hurt my hand -- which is great!
Stampin' Up: I really like these punches! Not only do they punch well, stand the test of time, but they are super CUTE! They also have coordinating stamps which is really nice. They don't hurt my hand when I use them. I don't know if they can punch in anything thicker than a piece of flat card stock because I have never had the need to do so. I have used them a lot and they have not gotten dull yet -- that is good because they are on the rather high end for cost. I will purchase these again.
EK: These are by far my favorite! I love them! They are fairly priced, can cut through thicker materieal, never hurt my hand and I have not had to sharpen them yet. I use these a lot, simply because they are so comfortable. They have a nice locking mechanism on the bottom as well. I always look at these stamps before I check out any other brand. I will purchase these again.
Here is the tutorial I created showing how to use your punches and a few ideas on setting up a kit.
Joy Clair Stamps and Rinea Foiled Paper have teamed up this month to bring you amazing projects featuring the new Ghost ink! I created a tutorial for you on how to use this amazing new ink as well as the back story to it. You can find those HERE .
In the mean time I have to share with you this book marker I made for my Bible!
The step by step tutorial is on the Rinea blog today! You can go here to visit: Rinea Inspires
I am super excited about this new way to use this Foiled Paper.
Today I am sharing with you the fourth and final technique in this series -- Embossing on the embossed and misting. Well, in my case, color bursting it! The first thing I did was run a white piece of flat card stock through my machine with an embossing folder. I tool my embossing ink and lightly rubbed it over the raised image and embossed it with penny embossing powder. I sprinkled three Color Burst colors and misted. Lastly I used a baby wipe to pick up the color on the raised image. As that dried I die cut my tag and stamped the image. I used alcohol marker to color it in. I assembled the card on a brown glitter card base. To see a demonstration of this technique please visit HERE . For supplies check out Brutus Monroe .
Today I am going to share with you the third technique in this four part series -- Foil! That's right --FOIL! Give it a try! You will absolutely love it. I used Rinea Foiled Paper with beautiful stars, but you could use just regular aluminum foil from your kitchen to make a fun masculine card with gears or outer space theme. I like the Rinea for this card because it holds it shape so well and is hard ti wrinkle. You can find the entire line with gorgeous colors and tools Here . I used the embossing folder and stamp set from Brutus Monroe . To see this technique please visit Four Techniques .Make sure you come back tomorrow to see the last technique -- it is a show stopper!