I am over on the Rinea blog today with how to make gorgeous bows using supplies from your craft room. If you have a 12 b 12 piece of paper this is for you! One sheet can make 6 bows. Oh, and did I mention they are fast? Easy? Yep! They sure are! Here is the short video on how to make them:
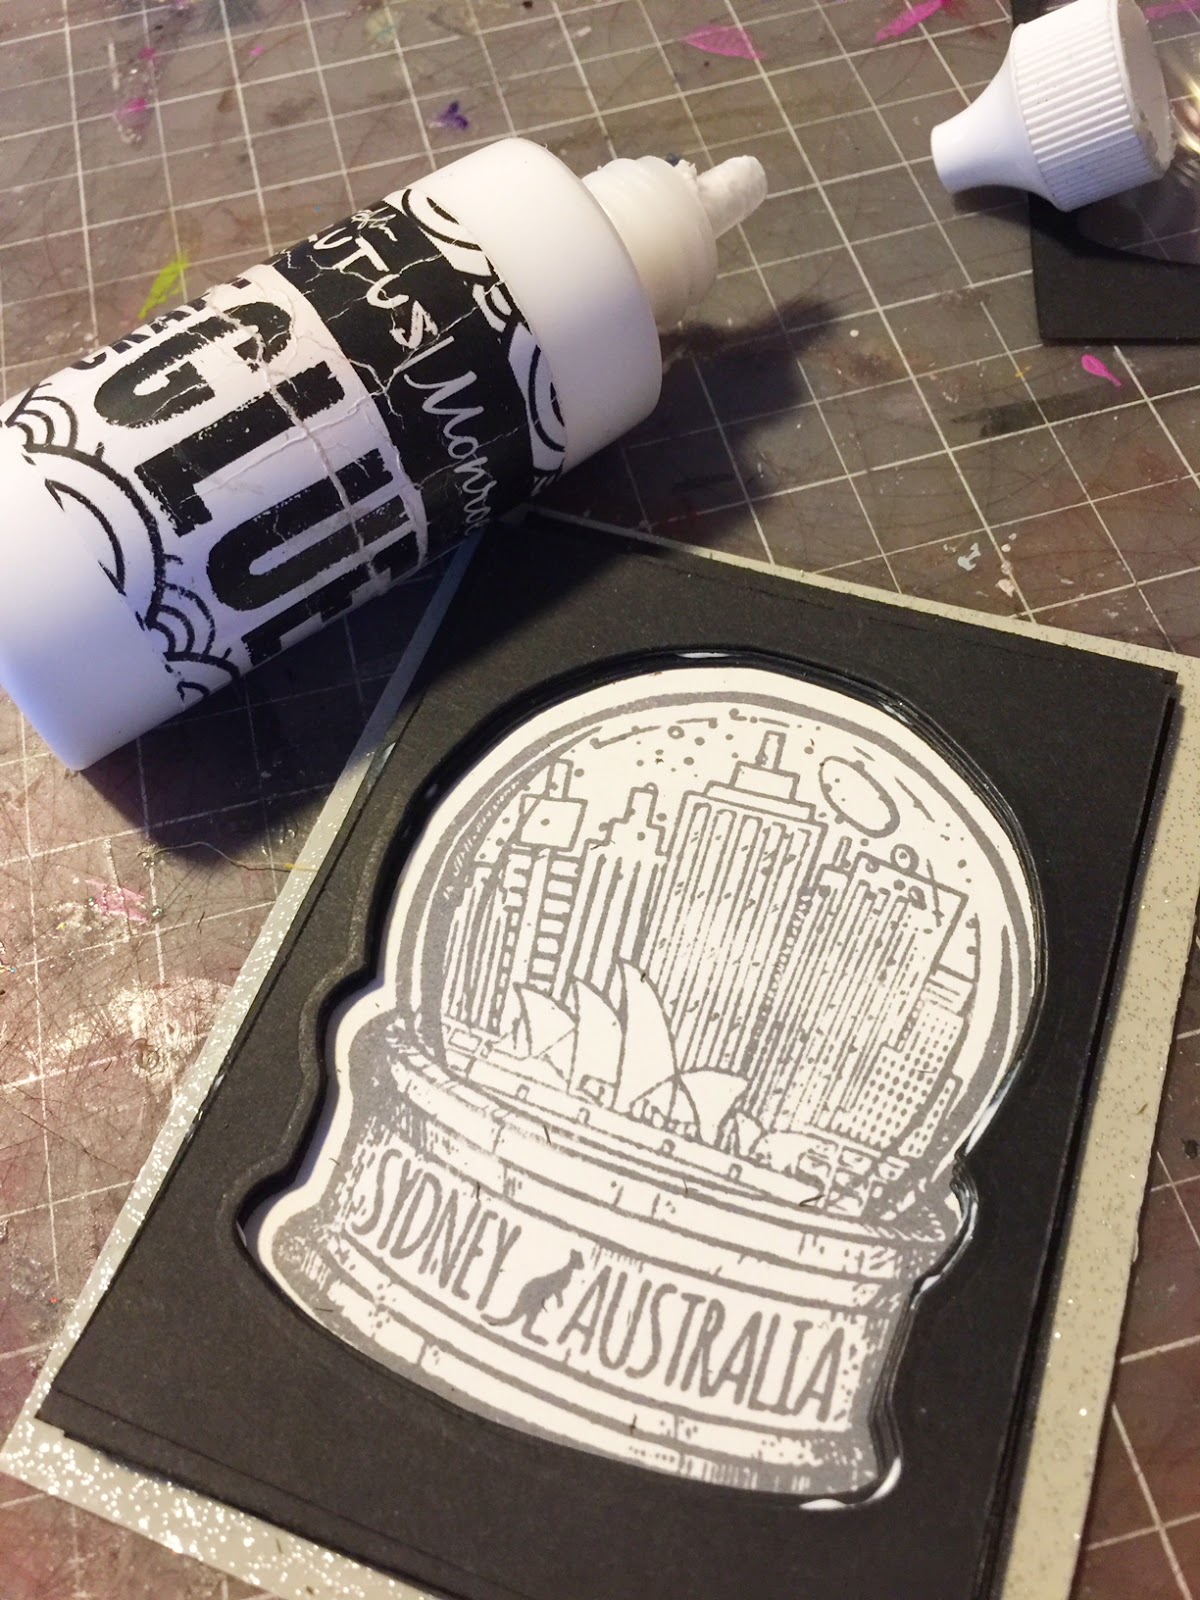
One of my favorite things are the globes and all the places in them! I love to make shaker cards to mail my friends and family when I am visiting a new place. I like to make about a dozen cards up before I leave and mail them from my destination. To make the card I first stamp the image on white cardstock:
Using the Globe die that fits all of the stamps I cut 12 3 by 4 black pieces of cardstock making sure to set the globe aside:
Adhere the stamped image to a base. I used a sparkly silver piece of cardwtock cut 1/4 inch larger than my image piece:
Using Brutus Monroe craft glue, carefully line up the globe frame to the image and adhere. Repeat the process until you have one black frame left:
Carefully place sequins and glitter in the shaker. Glue a sheet of acetate over the shaker and top it off with the last black frame:
Make sweet little charms for your tree or gift bags using your favorite Brutus Monroe Stamp set and shrink paper.
To make this charm I first started with the Stars Foundation Die set and a piece of festive pattern paper. I punched a hole in the top and set aside. Next, I stamped a snow man from the Snow Friends stamp set and colored it in with Stylefile markers on a piece of shrink paper. I carefully cut the snowman out making sure to leave room for a hole on the top. I punched a hole and shrunk it with my heat gun.Once it was cool enough to touch I threaded it on a string of hemp and topped it off with a glass bead from my stash.
To find most of the supplies to make a charm please visit the shop here
I have a Christmas swap I am participating in. I decided to mix up the traditional ATC and turn them into shakers! I recently purchased a fuse tool and have developed a fondness for it. It takes about 10 minutes to heat up, but once it is hot it is ready. Make sure to protect your work space because it will damage whatever you run it on. Here is a video on how to use it as well as these cards:
I am part of a Christmas swap with a crafty group. I have a few fun craft goodies for my partner, but I also wanted to include something handmade. So, I put together the pieces for a Christmas mini album that she can bind and finish off with her special holiday stories and pictures. My very favorite Christmas kit is Joyful Christmas ! I decided to make the pieces from that :-)
I get a lot of questions about the printer I use. For a long time I thought the paper had more to do with the quality of the image, but after a fight with my printer I learned it really does come down to the printer. I ended up having to print this kit on three different types of paper and I show them in the following video with further explanation. I also get asked about how to make pockets and I show one type you can make in it too! Lastly, I make a card from the cover sheet that is fast and gorgeous. I hope you watch the video and get a lot of ideas!
Here are the links to the things I covered in the video:
As featured on the Brutus Monroe blog yesterday! I made a cute Christmas Planner Shaker Pocket for my Happy Planner with the November Inspiration box from Brutus Monroe
The bags in the kit are a perfect base for a shaker. I used one of the printed card bases in the box and colored it with Stylefile markers found in the shop too! I slipped the card base into a fuse-able sleeve, added the snowflake confetti from the kit and some confetti from my stash. Using my fuse tool I sealed the edge and attached it to a piece of cardstock. I added the snowflakes made from the dies in the kit along with the bling and placed them over the banners. I made the tag with the largest foundation tag die and stamped the small snowflakes all over it. Once it was complete I put it in my planner to hold special pictures or notes for the month of September.
Don't forget to sign up for the box and check out the store for lots of other fun stuff in the store!
Today I am sharing a fun canvas I made for Christmas. Living in the Southwest we don't really get a true winter. We get more of a spring and summer. Keeping that in mind I created this canvas:
I used Rinea Foiled Paper, Lisa Kettell Design Clay pieces, straws and my stash to make it.
Here is a video on how it all came together:
Make sure to check it our how to make a couple different flowers and the frame!